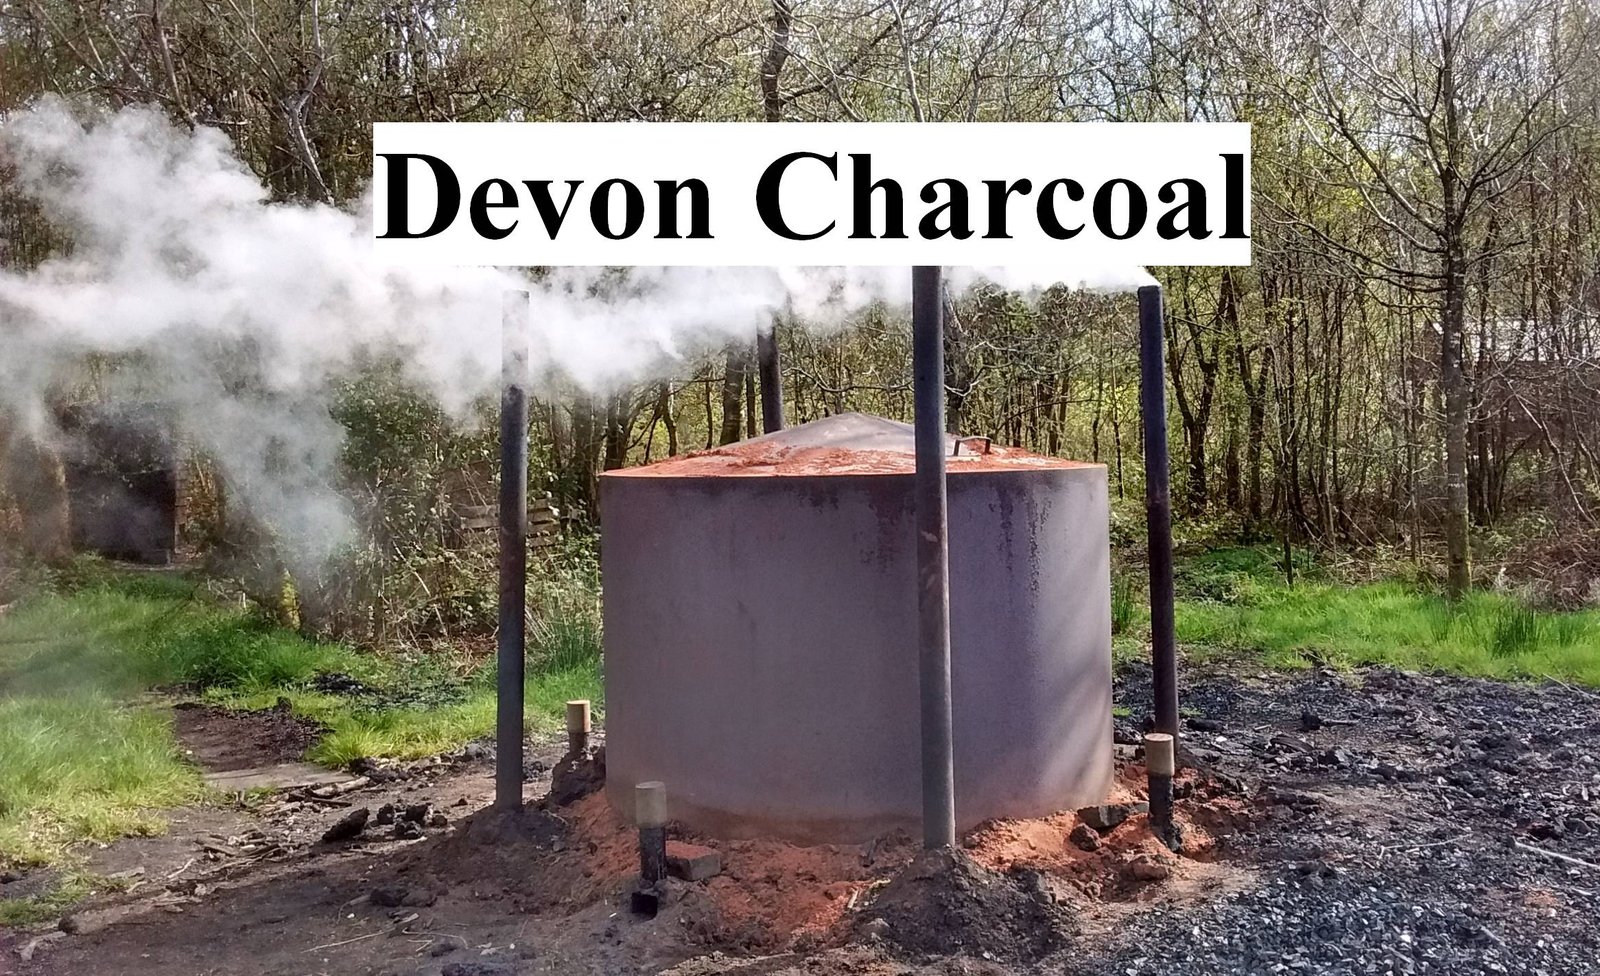
What follows is a brief description of how charcoal is made using a steel ring kiln. The pictures were taken on our charcoal making courses at Bulworthy Project. During the last decade, we’ve been making the majority of our income from making charcoal. This is the method we use. If you’d like to know more and spend a day in the woods making charcoal and eating great food, come on one of our courses.
Loading the Kiln
Wooden supports known as feet are placed in a particular way to allow the correct airflow to the middle of the kiln.

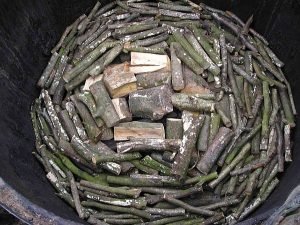
“Brown ends” (part charred pieces of wood) are placed in the centre of the kiln to form a “hovel” which is where the fire will be lit. The hovel contains screwed up paper as the first part to be lit and it should be designed so that a lit rag on a stick with a bit of vegetable oil to help it burn is enough to get it going.
The first layer of wood known as “bridges” are placed on top of the feet.

Wood is then placed with large pieces (up to 18 inches across) towards the centre and small (down to an inch in diameter) pieces towards the edge. The wood is positioned generally parallel to the circumference of the kiln except immediately on top of “hovel”. This creates a stack that collapses in on itself easily as the bottom layer burns out.
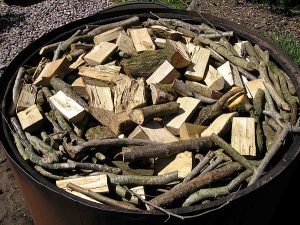
The reason that we put large pieces towards the centre and small pieces towards the edge is that the kiln is hotter in the centre and cooler at the edge. In effect, we’re going to burn the wood in a similar way to burning cakes in the oven. It takes more heat to burn a large lump of wood than a small one. If you get this ratio correct, all of the wood will pyrolyse at roughly the same rate.
Stacking the kiln is a compromise between the efficiency of having each piece of wood in the right place and the time saving of filling the kiln quickly. As well as getting the wood in the right place for its size, you also want to stack as much into the space as possible. Wood makes charcoal, air doesn’t. We have known people to be concerned that if you pack the wood in too tightly, there would not be enough oxygen for the process to take place. With natural shapes of wood, this is impossible. Stack the wood in as tightly as you can.
Bear in mind that you will get much quicker at this and the process of deciding where each piece of wood goes, will become almost subconscious and you will get better at throwing them into the chosen position. The whole process becomes easier and we find it’s a useful time to talk about stuff as it’s a job that’s second nature.
This process is continued until the kiln is full, with the variation that there’s a wider area of small wood at the top and bottom of the kiln.
The lid is placed on the kiln supported by a bearer on the windward side.
Lighting and Free-Burn
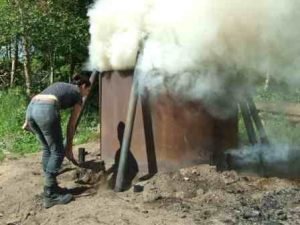
The kiln is lit through an outlet on the leeward side using a rag on a stick, with a little vegetable oil to help it burn.
The first part of the burn is called the freeburn. During this period, you want as much air flowing through the kiln as possible. The purpose of the freeburn is to get the kiln going sufficiently that it does not go out when you restrict the airflow. The freeburn period for our 6 foot by 4 foot kiln normally takes between 20 and 30 minutes.
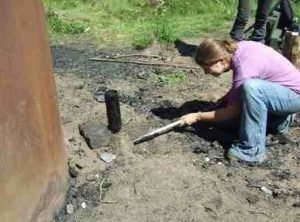
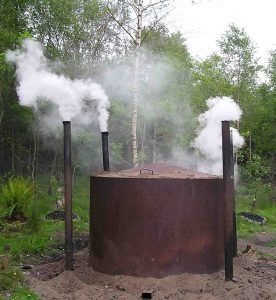
When the kiln is burning properly, the gap around the bottom of the kiln is filled with sand to prevent air getting in except through the vents. The chimney outlet ends are blocked with bricks and the chimneys are put in place, the bearer is removed and the lid is closed. The lid is then sealed with sand. The timing of this will depend upon the size of your kiln, how much airflow you have, how seasoned the wood is and how dry it is.
If the freeburn goes on too long, the water in the wood expands too quickly and damages the structure of the wood shattering it. This will also happen with overly large pieces of wood. Oak is more liable to do this as the water is locked in on a cellular level, which is why it takes so long to season. Alder or birch is much less likely to do this.
Controlling the Burn
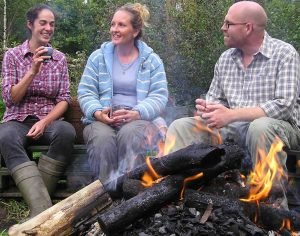
The kiln is then monitored whilst sitting around the campfire enjoying a glass of wine.
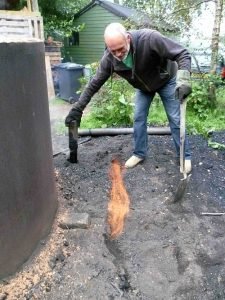
The next morning when the kiln is ready to close down, the chimneys are removed and capped and the inlets are blocked. This should be done on an individual basis for each chimney. A chimney is ready to close down when the first section of the smoke coming out is clear. If you see blue smoke, you are burning the charcoal. Next time, close it down a bit earlier. When the first chimney is ready, remove the chimney and cap the stub. Then close the inlet to either left or right, depending which is glowing brightest. You can close the inlet by blocking the end with a brick and sealing it with sand. For the subsequent chimneys, close down the inlet on the same side. Sometimes the chimneys are all ready at the same time. Often, one area of the kiln is done first. This process allows the kiln to balance out.
When all chimneys have been capped and all inlets blocked, the kiln is left to cool for 24 hours.
Unloading
The moment of truth when the kiln is opened. If the charcoal is made correctly there should only be a small amount of ash at the bottom of the kiln and the top surface should be even.
Sometimes the top surface will show signs of an uneven burn if there has been a strong wind. Any significant amount of ash on the top of the kiln is a sign that the timing was wrong or the kiln was loaded badly.
If when you open the kiln, you smell burning, see smoke or sparks, put the lid back on, make sure that it is properly sealed up and leave for another 24 hours.

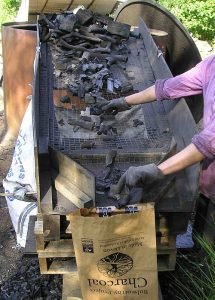
The charcoal is removed from the kiln and placed on a grader made using a 25mm mesh to remove dust and any charcoal that is too small. This undersized charcoal is known as fines. It may seem that you could “lose” less charcoal by using a smaller mesh, but you won’t increase the weight or volume of charcoal by doing this as much as you will reduce it’s quality.
“Brown ends” and over-charred charcoal are also removed at this stage.
Pieces of charcoal that are too large are broken down into a suitable size.
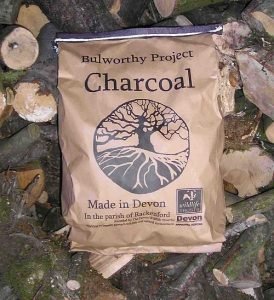
The charcoal is then put in a bag and sealed.
You can then regrade your fines over a 13mm mesh, dividing them between blacksmith’s charcoal and charcoal fines. Both are saleable products.
NB. Forestry, like farming has gone in the direction of being very efficient per person hour, whilst completely ignoring efficiency when it comes to resources such as land and oil. This does not always work for the charcoal maker. There is machinery that can make charcoal production easier and quicker. A firewood processor would speed things up, as would a conveyor belt from the woodstore to the kiln. The questions that you have to ask yourself whenever you are looking at machinery are: “How much extra charcoal will I have to make to pay for this?” and “How much extra charcoal will I have to make each year to maintain it?”

